

How To Split Bullet Points In Word
Lesson fifteen: Columns
/en/discussion/breaks/content/
Introduction
Sometimes the information yous include in your document is best displayed in columns. Columns tin can help improve readability, especially with certain types of documents—like newspaper articles, newsletters, and flyers. Word also allows you to arrange your columns by adding cavalcade breaks.
Optional: Download our practice certificate.
Scout the video below to learn more about columns in Discussion.
To add columns to a document:
- Select the text you want to format.
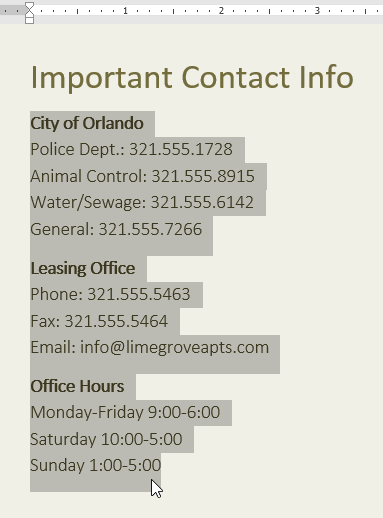
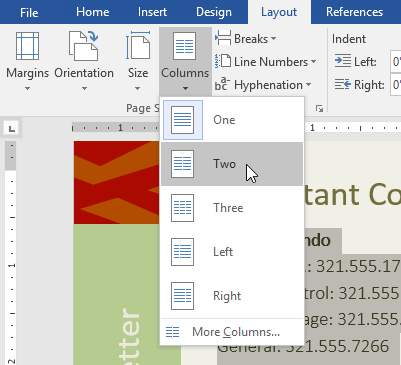
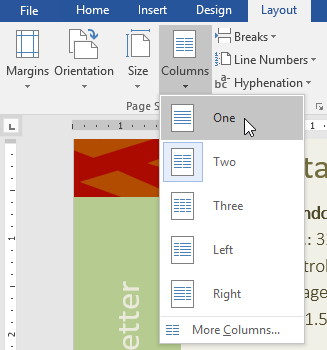
- Select the Layout tab, then click the Columns command. A drop-down carte will announced.
- Select the number of columns you desire to create.
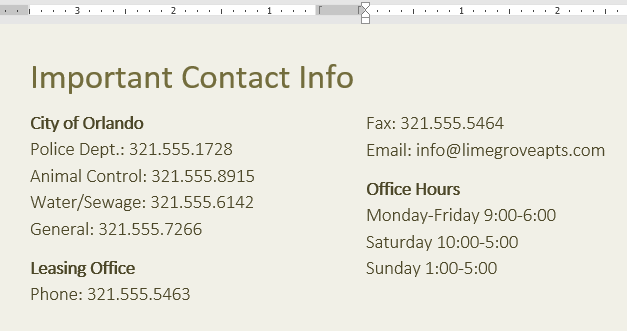
- The text will format into columns.
Your column choices aren't limited to the drop-downwardly menu that appears. Select More Columns at the lesser of the menu to access the Columns dialog box. Click the arrows next to Number of columns: to adjust the number of columns.

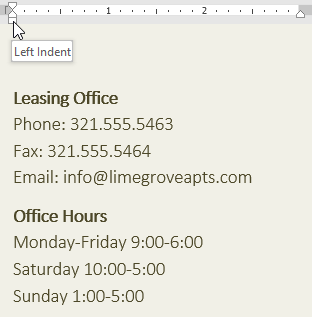
If you want to adjust the spacing and alignment of columns, click and drag the indent markers on the Ruler until the columns appear the fashion you desire.
To remove columns:
To remove column formatting, place the insertion point anywhere in the columns, then click the Columns command on the Layout tab. Select I from the drop-down menu that appears.
Adding column breaks
In one case you've created columns, the text will automatically flow from one column to the next. Sometimes, though, you lot may desire to control exactly where each column begins. You can practise this by creating a column interruption.
To add a column break:
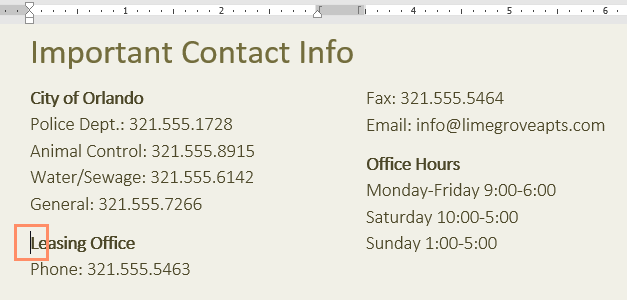
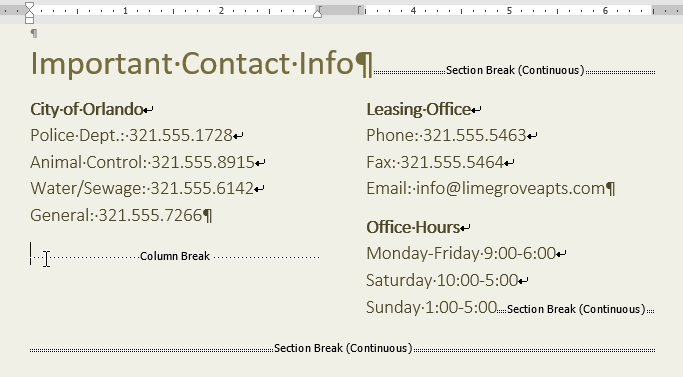
In our example below, nosotros'll add a column interruption that will move text to the kickoff of the side by side column.
- Place the insertion indicate at the commencement of the text you want to move.
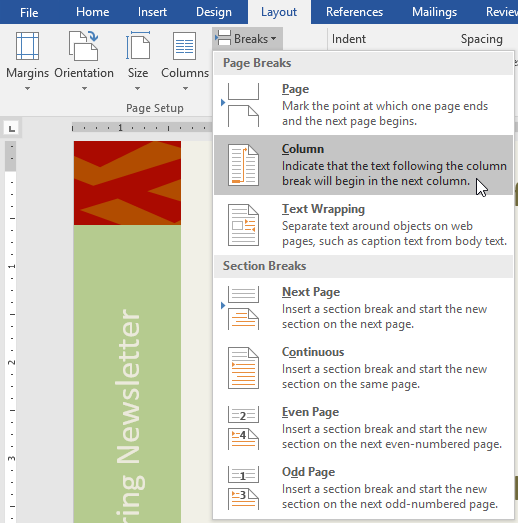
- Select the Layout tab, then click the Breaks command. A drop-down menu will announced.
- Select Column from the menu.
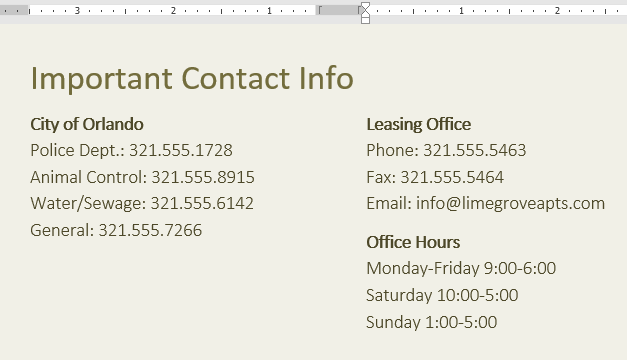
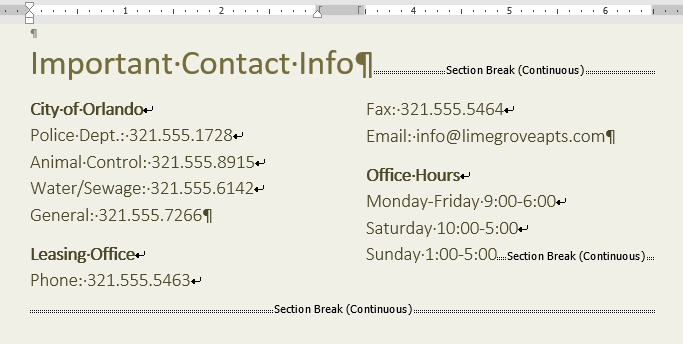
- The text will motility to the beginning of the column. In our example, it moved to the first of the adjacent column.
To learn more than most adding breaks to your certificate, review our lesson on Breaks.
To remove column breaks:
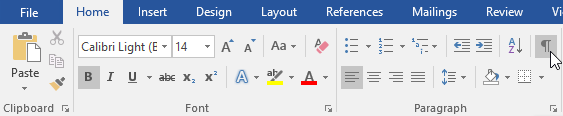
- By default, breaks are subconscious. If you want to show the breaks in your document, click the Testify/Hibernate command on the Habitation tab.
- Place the insertion indicate to the left of the break yous want to delete.
- Press the delete key to remove the intermission.
Challenge!
- Open our practice document.
- Scroll to page 3.
- Select all of the text in the bulleted listing below Community Reminders and format information technology as two columns.
- Identify your cursor at the beginning of the quaternary bullet in front of the discussion Visitors.
- Insert a cavalcade suspension.
- When you're finished, your page should expect something similar this:

/en/word/headers-and-footers/content/

How To Split Bullet Points In Word,
Source: https://edu.gcfglobal.org/en/word/columns/1/
Posted by: johnsonpleine.blogspot.com
0 Response to "How To Split Bullet Points In Word"
Post a Comment